Hi All! Last week I promised you a way to use up those piles of leaves you just had to rake up. As a bonus you’ll also end up with a new useful spot in your yard.
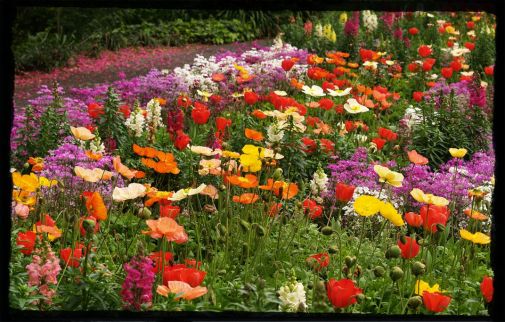
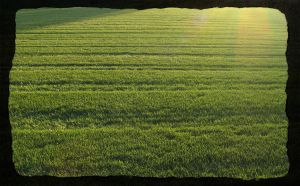
When Michael and I bought Hawks Landing Farm it was run down. We moved in during the fall so as to have the winter to get the outbuildings and house fixed up. Not only did we have the huge expanse of pasture, but surrounding the house were acres of lawn. This would have been great if we wanted a soccer field or to do as one neighbor did and put in a baseball diamond complete with backstop and benches. We had another vision, creating a working farm.
That lawn needed to go.
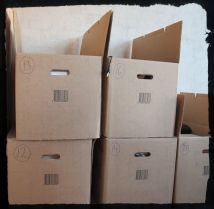
There are several methods to use for lawn removal. Being dedicated to sustainable and organic practices we ruled out chemical means. Another option would be to rent a machine to remove the sod. This is fairly labor intensive and comes with the need to dispose of the removed sod. Not having the money to rent a machine or the place to dispose of the sod we passed on that option to. What we did have was the whole winter season, a pile of moving boxes, and drifts of leaves from the orchard.
The method for making planting areas out of lawn is fairly simple. We marked out the area we wanted the planting beds. In our case it was two fairly large spaces – one for commercial flowers and the other for vegetables. You can make your planting beds any size you want.
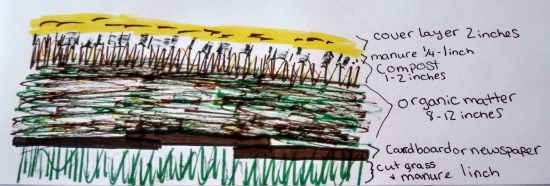
First we cut the grass at the lowest setting letting the clippings fall into place. From the dairy farm down the road we had picked up a load of manure. If you don’t have access to a farm bags of manure from the home improvement store work just fine. Between the grass clippings and the manure we put down a layer about an inch thick.
Next we lay out the cardboard. You should have seen Aaron, almost five, tromping along beside us dragging out pieces of cardboard as tall as himself and putting them in place. Make sure any boxes you use are free of tape, stickers, and staples. You can also use thick layers of newspaper, remove the glossy ad sections. One trick to getting the boxes or newspapers to stay in place as you work, wet each layer thoroughly. Also, make sure your edges overlap by at least an inch. You don’t want any gaps where vigorous grass and weeds can poke up.

From here it is just a matter of adding layers.
First layer: organic matter – eight to twelve inches deep. Here is where the raked or mulched up leaves come in handy. Other material that can be used is straw, spoiled hay, wood shavings, stable sweepings, rabbit droppings, or any organic matter you can get your hands on. Friends out at the coast have even used seaweed. Grass is okay, in small quantities, when mixed in with other organic matter.
Second layer: compost. If you’ve had a compost pile going now’s the time to use it. We were fortunate because the former owners of our property did have a compost pile, of sorts. We were able to add this to our layers. You can also get bags of compost from the store.
Third layer: more manure – anywhere from a fourth of an inch to an inch.
Top layer: a weed free cover layer. Make this about two inches deep. This can be straw, raked up leaves, wood shavings, or sawdust. Be creative here. Get to know people in your community. Is there a wood worker you can befriend? Bring a pie and the offer to sweep up his wood shavings. We befriended the owner of a tree trimming and removal company. He was having to pay to dump his wood chips. Now, every few months he brings a load to our place. Most of the time we use it as is. Sometimes we run it through our chipper making the pieces smaller and use it for bedding in the barn, or a top layer of mulch in the now established flower beds.
With a soaker hose or sprinkler set to low gently soak the layers.
If you want you can immediately plant in the layered mulch. Brush aside the top protective layer, put in your seeds or plants, and then replace the top layers. This type of planting area is much better six months later when all the good nutrients have had a chance to mix and mingle. For those in the Northern Hemisphere, fall is the time to set out a new area for planting in the spring.
Happy Mulching!
~Sophia


